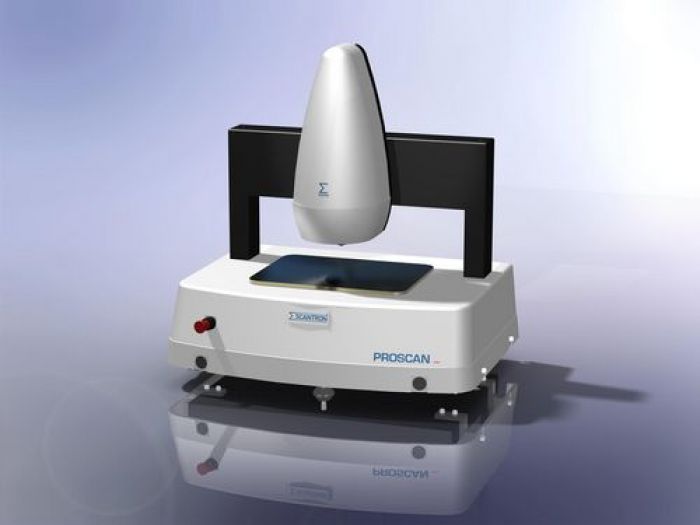
Surface Roughness
New and modern industries require the manufacture of components with high levels of physical precision across many variables. This precision does not only extend to the materials, the build and their dimensions, but also the microscopic properties of a surface. Scantron’s surface measurement devices meet the demands of this market by providing state-of-the-art tools which enable the precise and accurate measurement of material surfaces.
Assessing key data about a surface can inform designers, manufacturers and researchers across many industries. Smooth surfaces are key to operating efficiency in the automotive or manufacturing industries, e.g. by understanding the contact pressures and frictions between two surfaces. The tactile feedback of a device and its ergonomics is also very important for designers who want to assess the quality and feel of a surface like a button, touch screen or casing. Smooth surfaces are also important in many scientific industries, e.g. the finish of a mirror within a laser system, or the analysis of scratch/dig defects on smooth materials.
Measuring such properties requires incredible precision. Although our fingers are remarkably good at sensing out roughness, machinery is required to discover precisely how rough a surface is and its associated properties. Formerly, surfaces were measured with a stylus which was dragged across a surface, much like on a vinyl record player. The obvious downside to this is that some surfaces are soft or delicate and would be distorted or destroyed by any such contact. Even aluminium surfaces are scratched. To combat this, Scantron has developed contactless devices which can analyse surfaces without affecting their integrity.
These non-contact methods provide valuable and accurate data quickly. They provide a 3D profile of the surface and this can be used to inform design, scientific or manufacturing decisions.
Scantron surface measurement devices provide analytical data and information on surface roughness and finish. They can measure the depth and height of peaks and troughs, the cross-sectional area, radius, or any other 3D parameter to sub-micron levels of precision. Some Scantron systems can auto-detect surface defects.

